
Myths of the World: Island of Forgotten Evil: Chapter 1 Escape
Myths of the World Island of Forgotten Evil Walkthrough is bursting with tips, brightly marked screen shots and solutions to this hidden object game challenge.
General Tips & Information
Chapter 1 Escape
Chapter 2 Trapped
Chapter 3 The Mansion
Chapter 4 Cross the Bridge
Ask for help in the comments below!
Chapter 1 Escape
Chapter 2 Trapped
Chapter 3 The Mansion
Chapter 4 Cross the Bridge
Ask for help in the comments below!
- Attempt to move ahead.
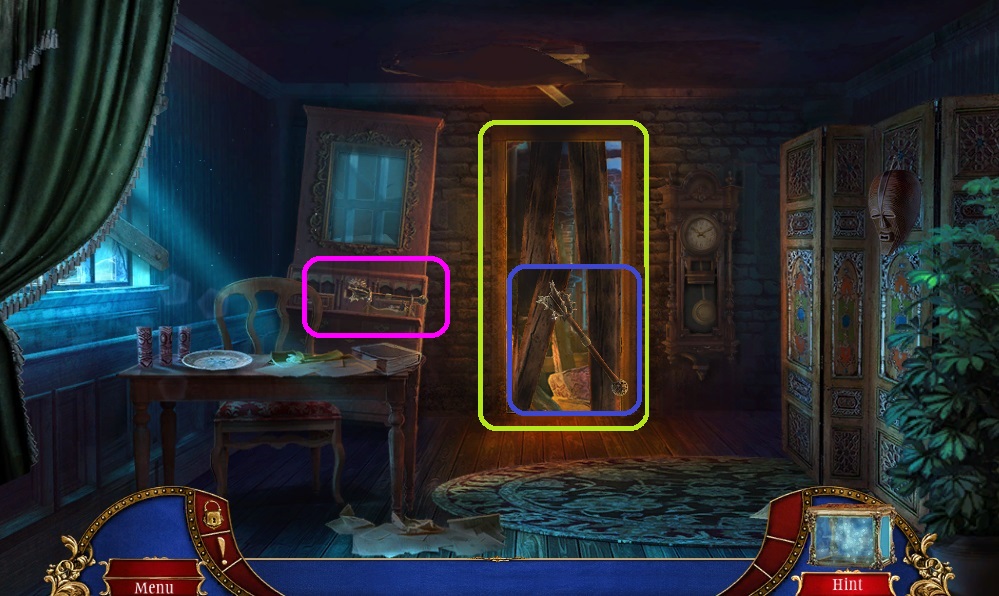
- Collect the mace & the lighter.
- Use the mace to remove the barrier.
- Move ahead to the Main Room.
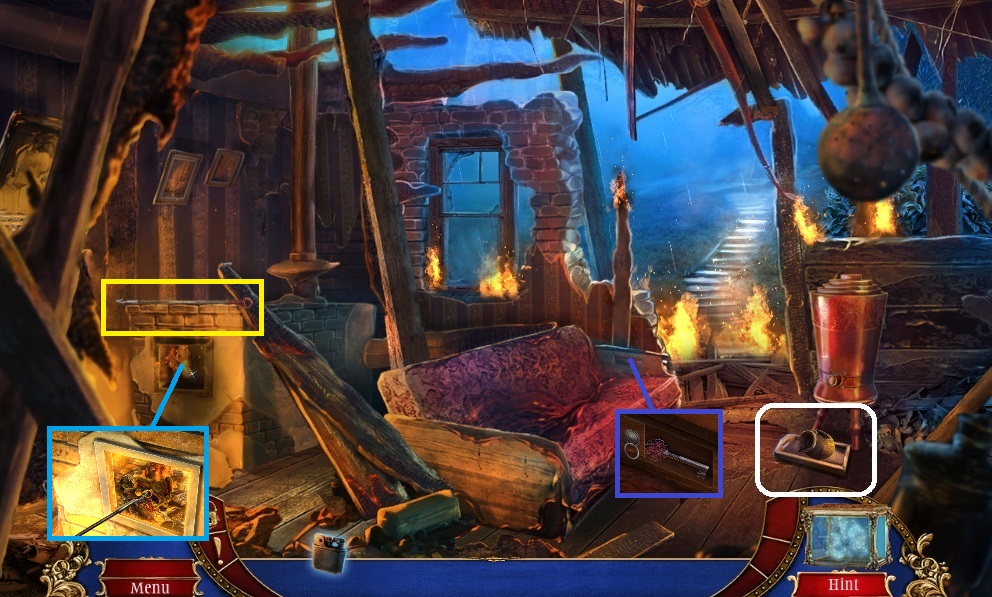
- Collect the fountain pot.
- Collect the poker & use it to collect the valve.
- Click the slot; collect the key.
- Move to the Bedroom.
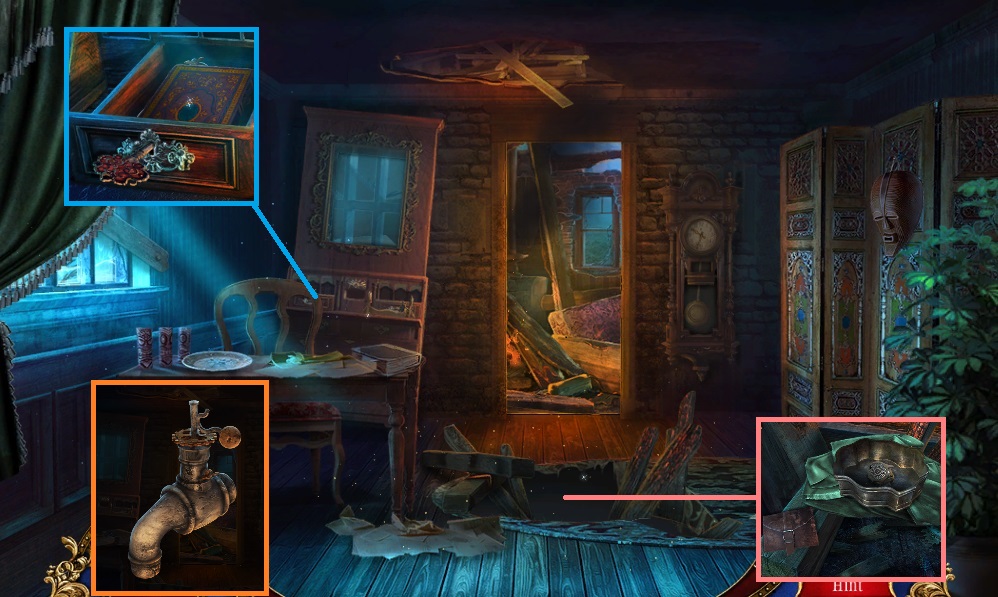
- Use the poker to uncover the box; read the diary & collect the Uncle’s artifact and blanket.
- Insert the key; collect the book & the tap.
- Click the tap 2 xs’s & attach the tap.
- Move to the Main Room.
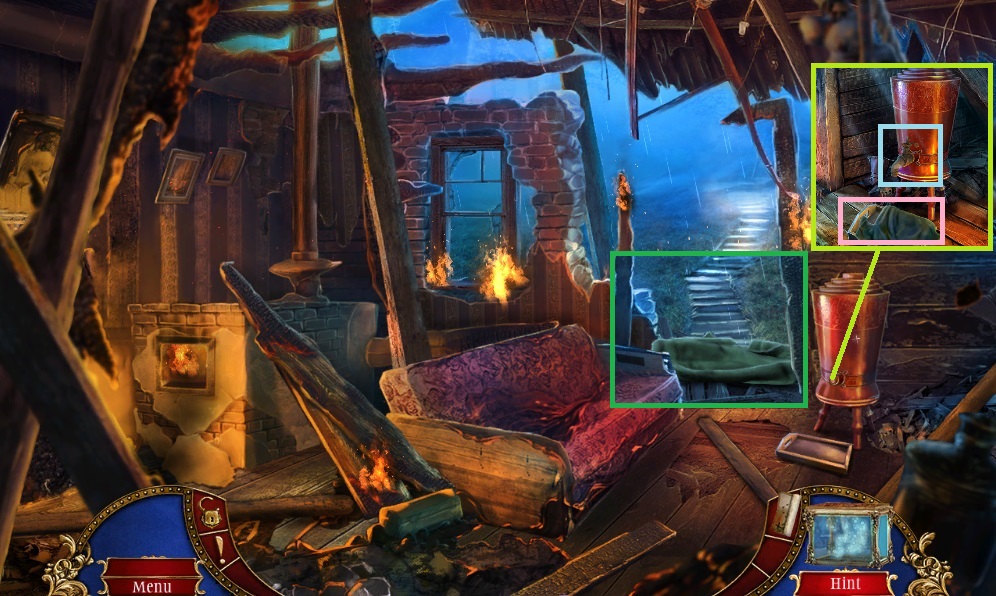
- Attach the tap and place the blanket down; collect the wet blanket.
- Place the wet blanket onto the blazing doorway.
- Move ahead one time into the Yard.
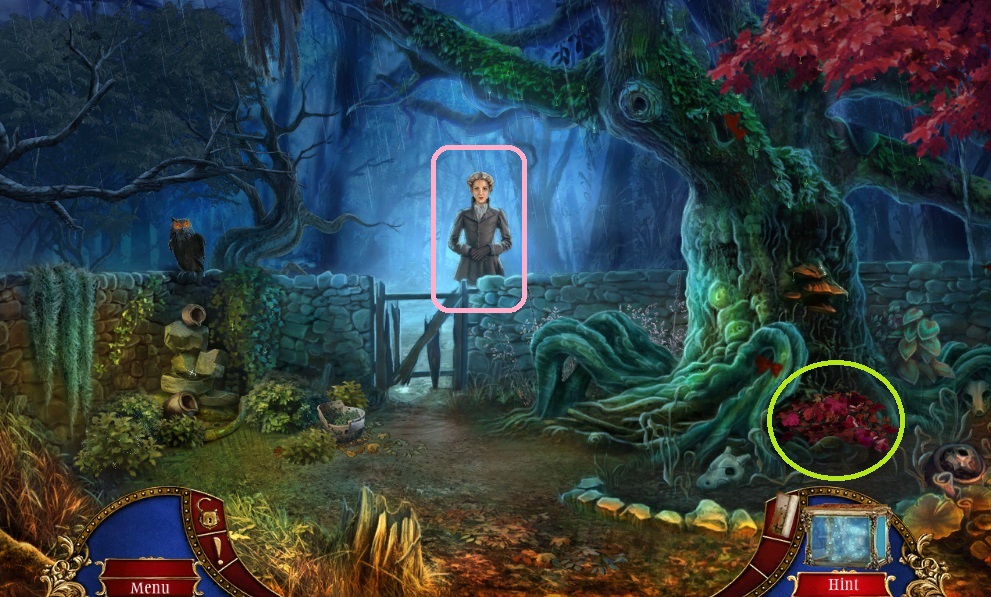
- Speak to the woman.
- Collect the sieve.
- Move ahead once and click the vines to trigger a hidden objects area.
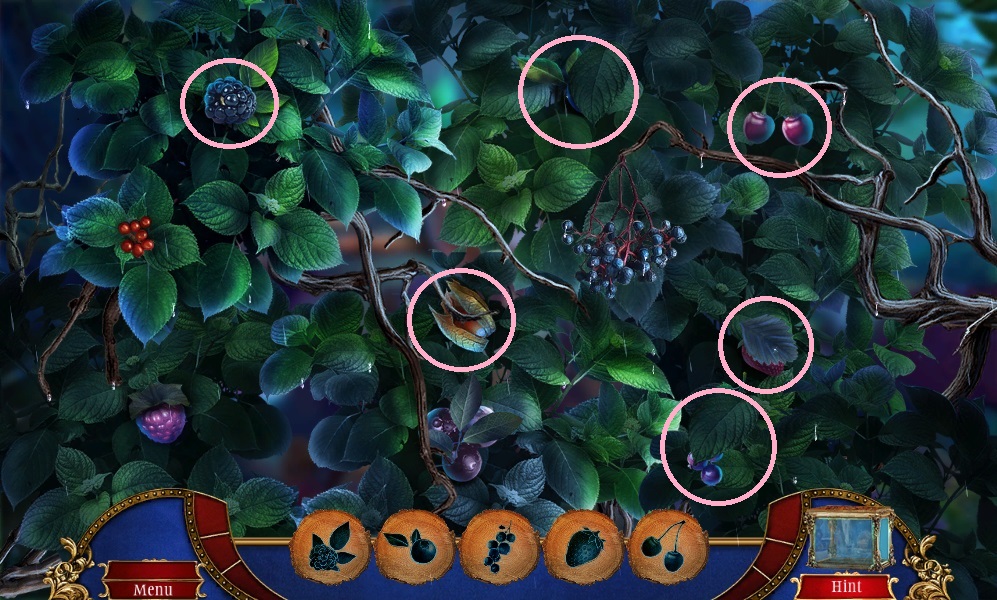
- Find the items.
- Collect the glowing powder.
- Insert the fish scale; collect the metal flower.
- Collect the fountain pot.
- Move to the Yard.
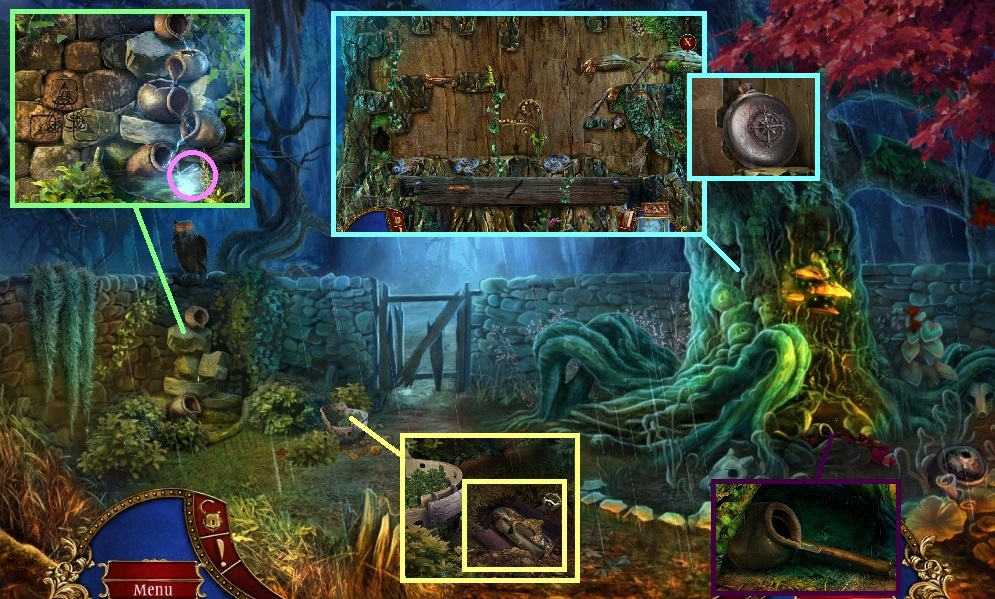
- Pour the glow powder; collect the fountain pot & shovel.
- Click the clay pot; click the dirt to collect the note & bracer.
- Place the fountain pots and click them into the position shown; click the bricks to complete the image.
- Collect the tooth.
- Click the tree to trigger a mini game.
- Solve the game by placing the items correctly to move the caterpillar along.
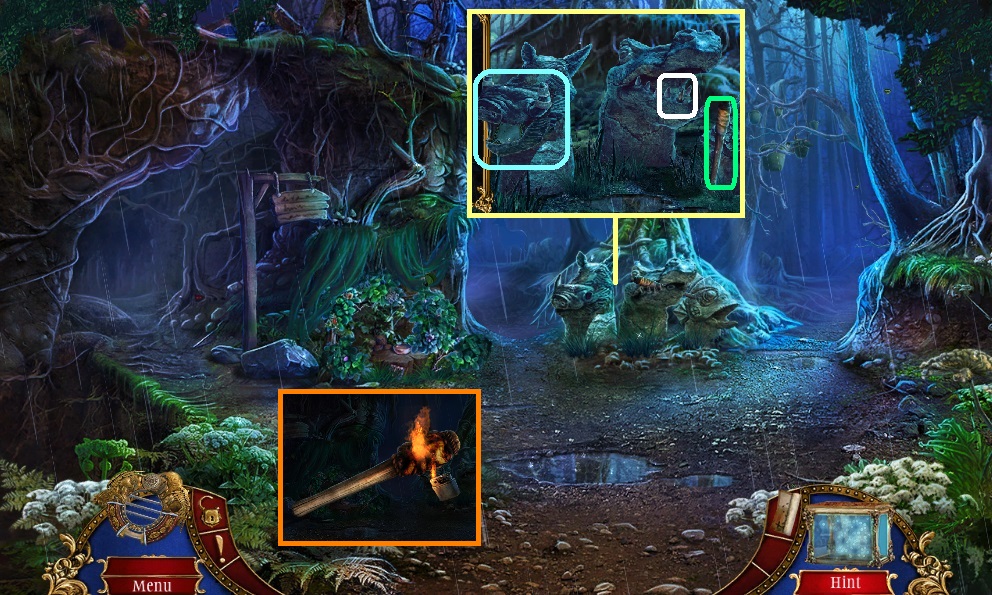
- Collect the ancient compass.
- Click the bracer & insert the artifact.
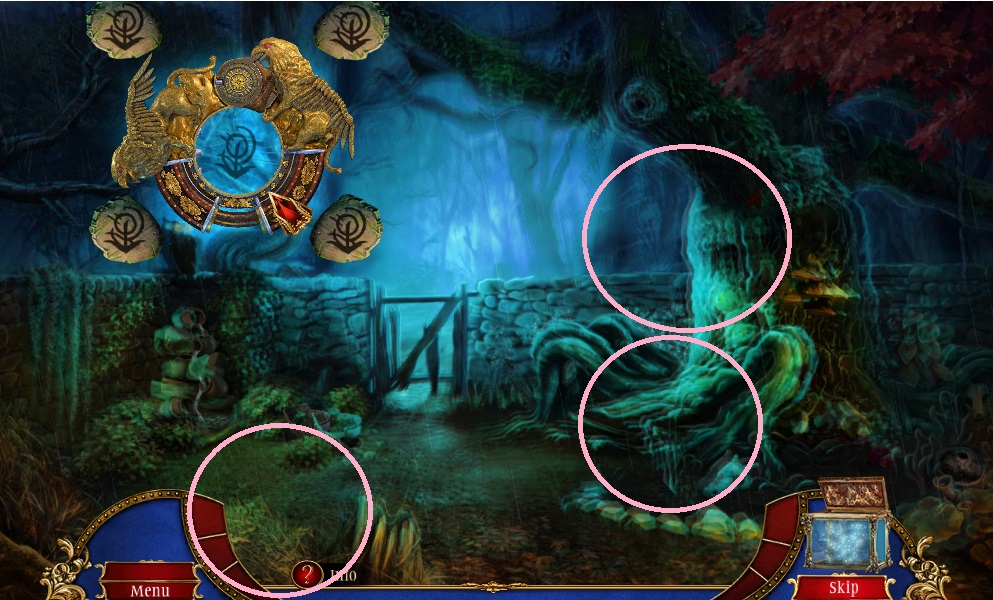
- Click the artifact to trigger a mini game.
- Solve the game by using the artifact to locate the symbols.
- Move to the Forest.
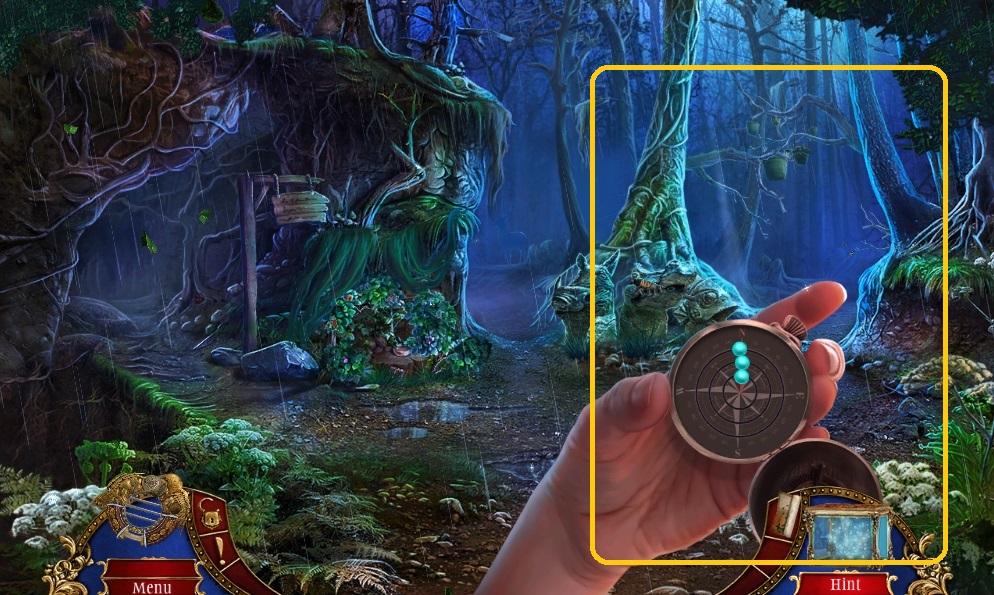
- Use the compass to find your path.
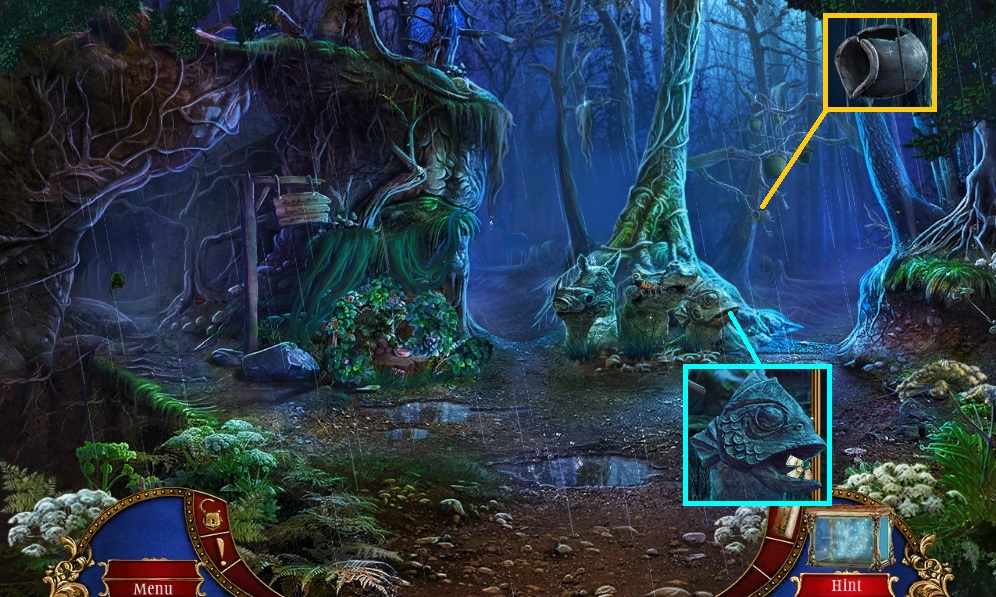
- Move to the Deep Forest.
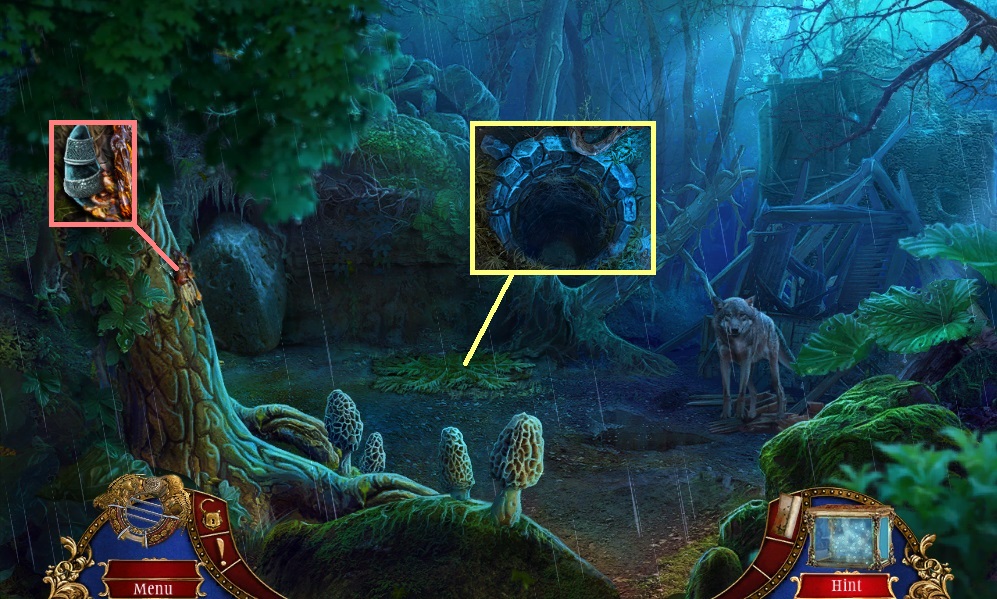
- Collect the tusk.
- Click the leaves to expose the well.
- Move down once.
- Attach the tusk; collect the mirror & oil.
- Insert the tooth; collect the extinguished torch and click it once.
- Pour the oil and use the lighter to ignite it.
- Move right into the Deep Forest.

- Use the torch on the wolf.
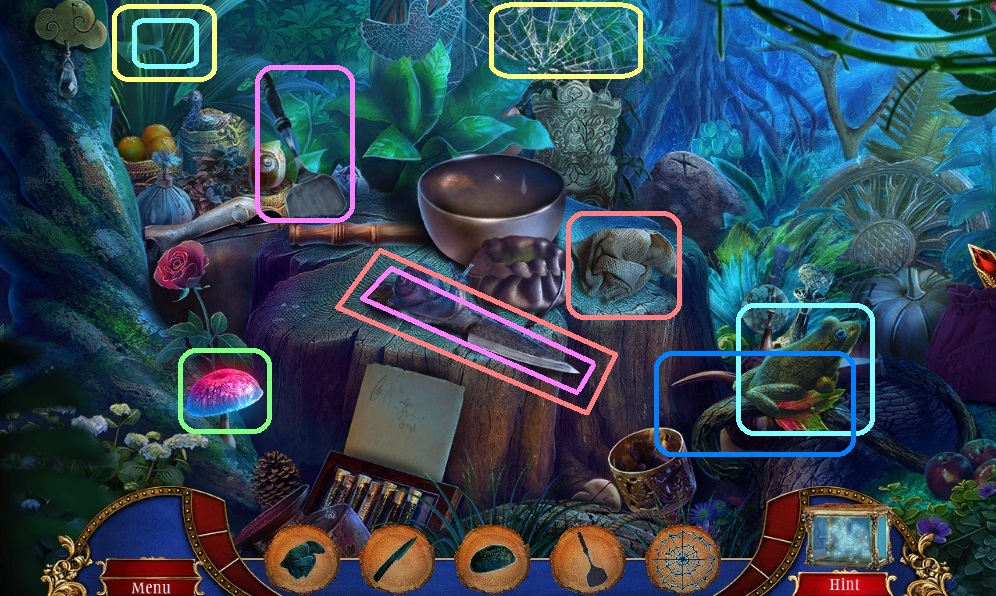
- Click the hidden objects area.

- Find the items.
- Collect the rope and toss it into the well.
- Move into the Well.
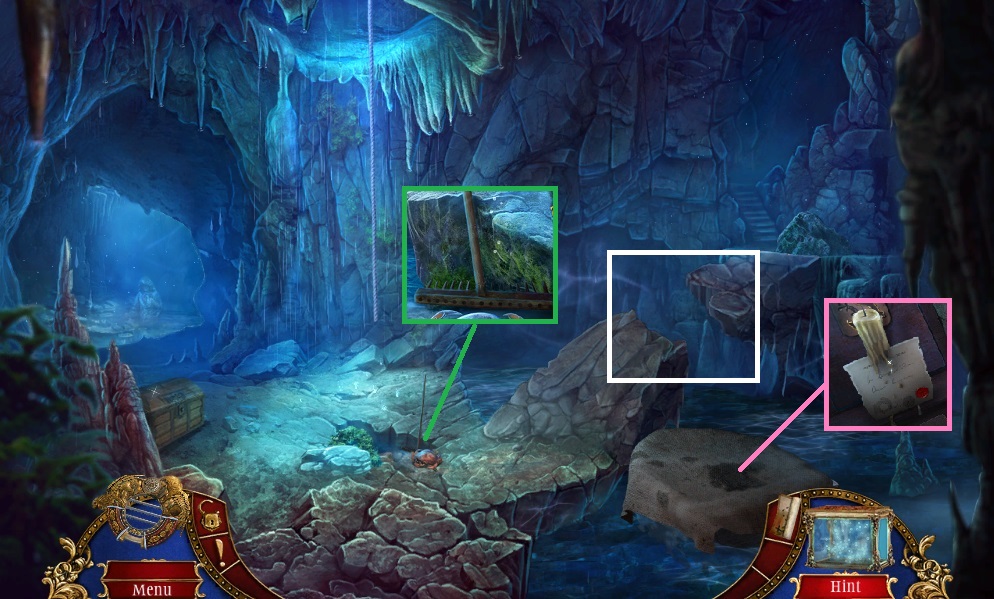
- Click the tarp; read the note & collect the candle.
- Collect the rake.
- Click the broken bridge.
- Move to the left.
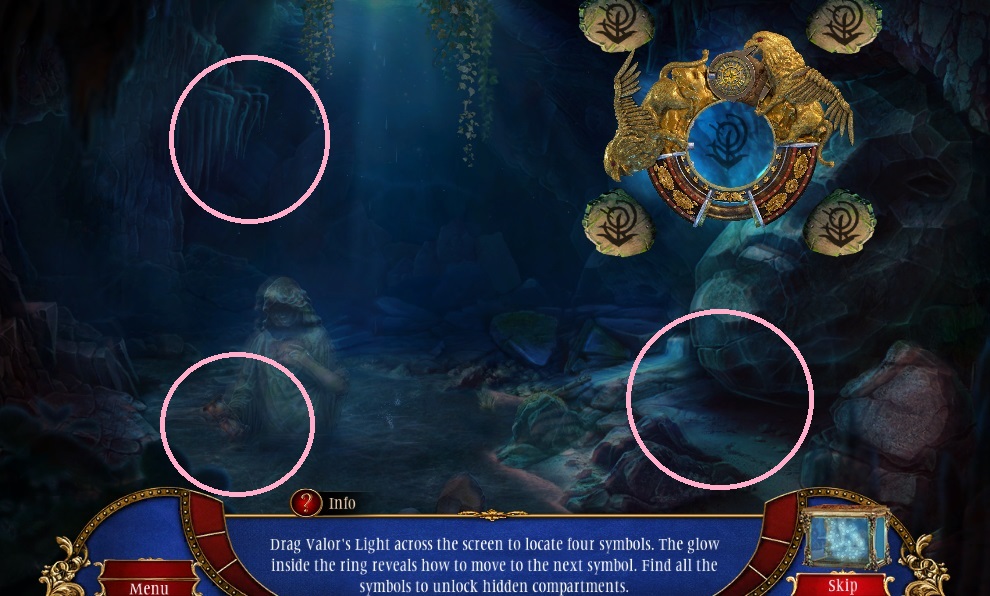
- Use the artifact to locate the symbols.

- Collect the harpoon base.
- Use the sieve; collect the worm & shell with sand.
- Insert the mirror.
- Move down once.
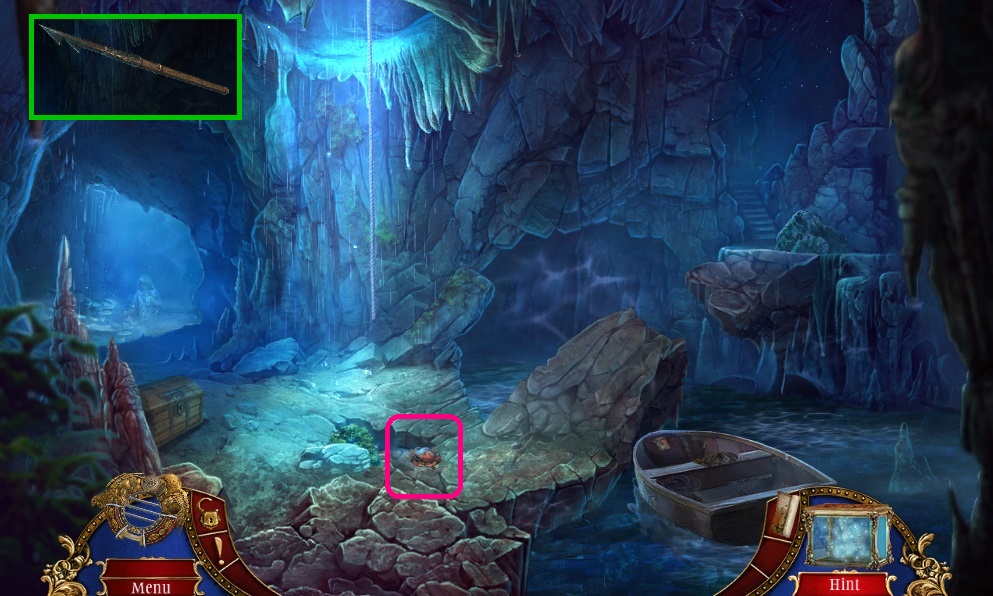
- Give the worm to the crab; collect the harpoon top and attach it onto the base.
- Move to the Forest Road.
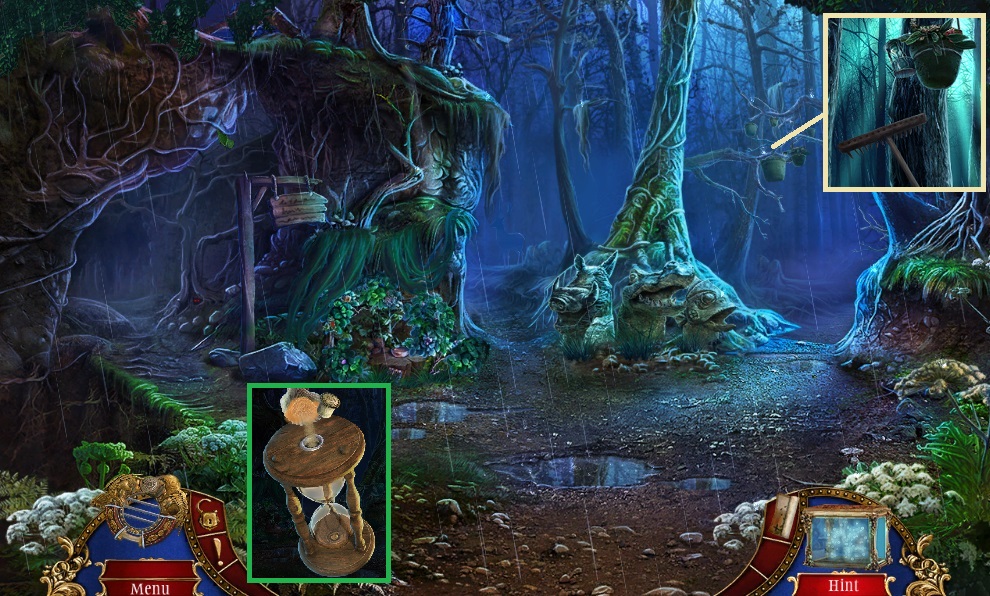
- Use the rake to collect the empty hourglass; click it once.
- Pour the sandy shell into it.
- Move to the Underground Pool.
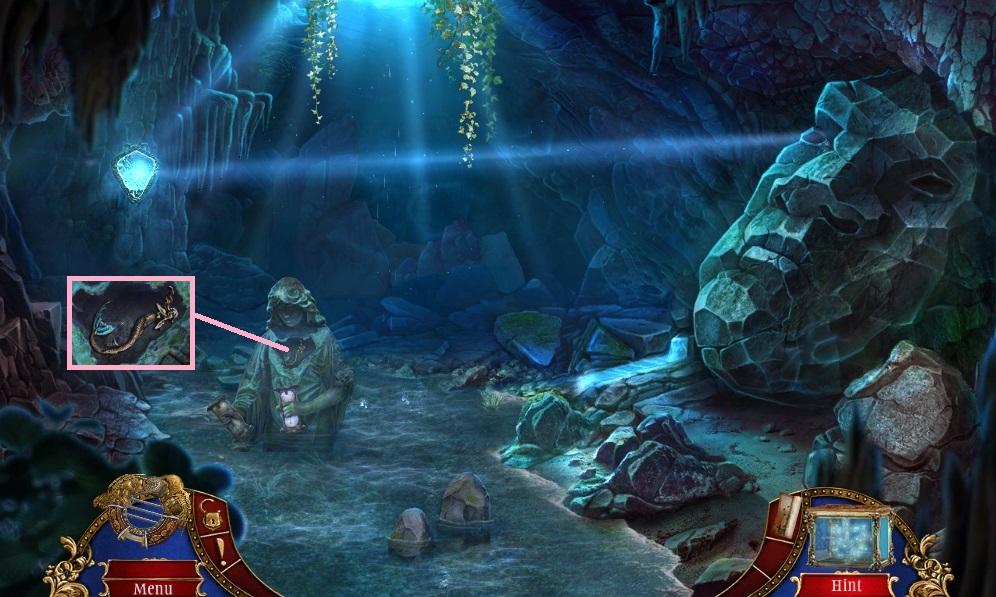
- Place the hourglass; collect the siren.
- Move down once.
- Insert the siren; collect the sap scraper & crank.
- Move up to the Deep Forest.
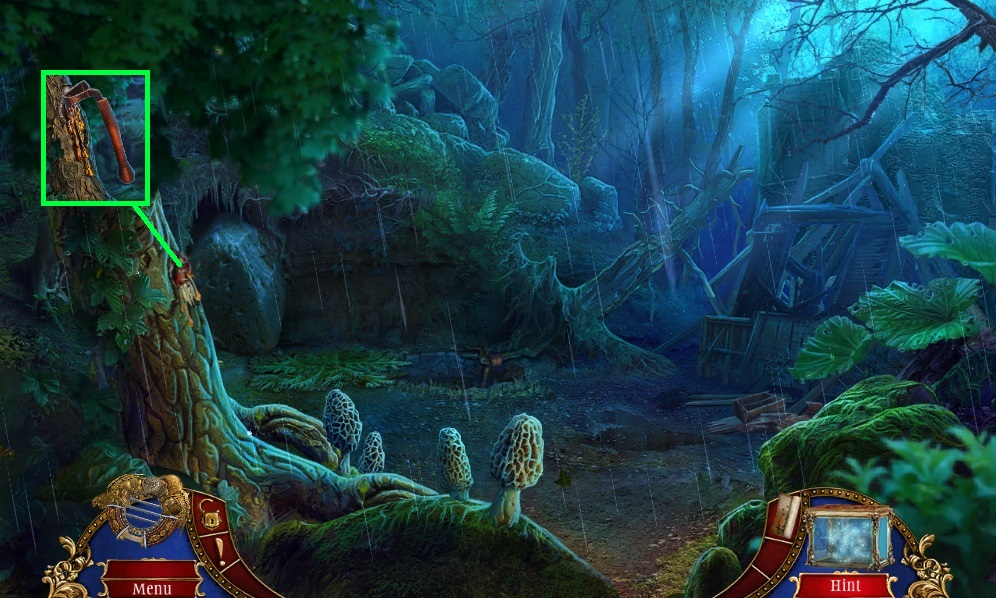
- Scrape the sap; collect the metal flower piece.
- Move to the Cave.
- Insert & click the metal flower.
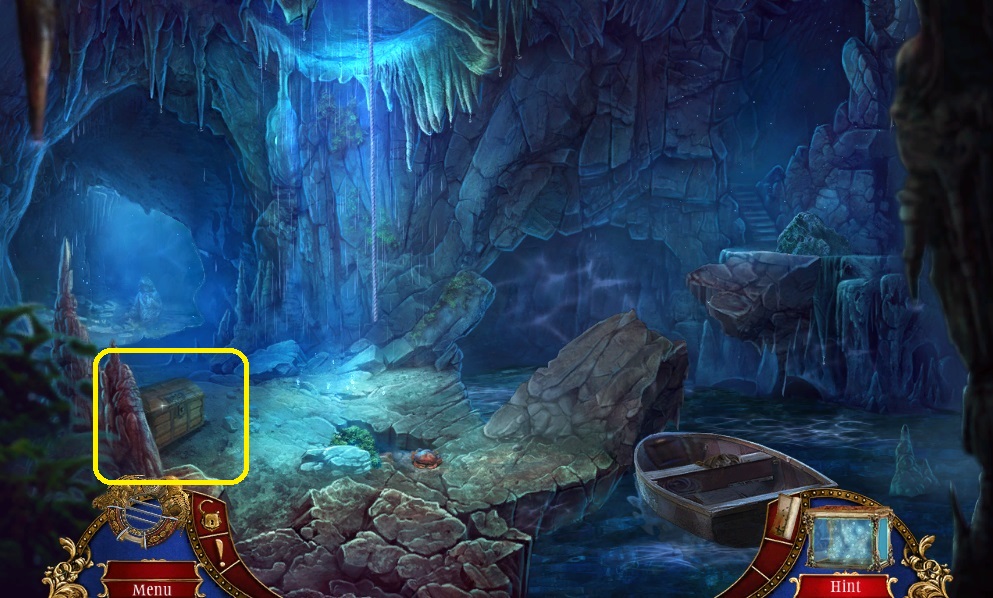
- Read the note & collect the sapphire.
- Move to the Underground Pool.
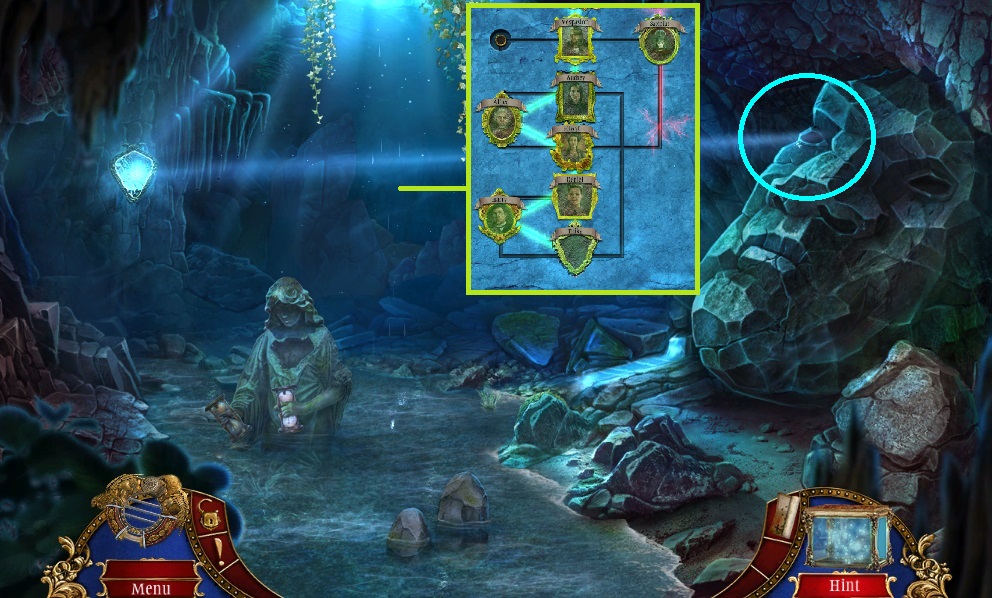
- Insert the sapphire to trigger a mini game.
- Solve the game by aligning the images correctly.
- Collect the Roman coin & stone tablet.
- Move down once.
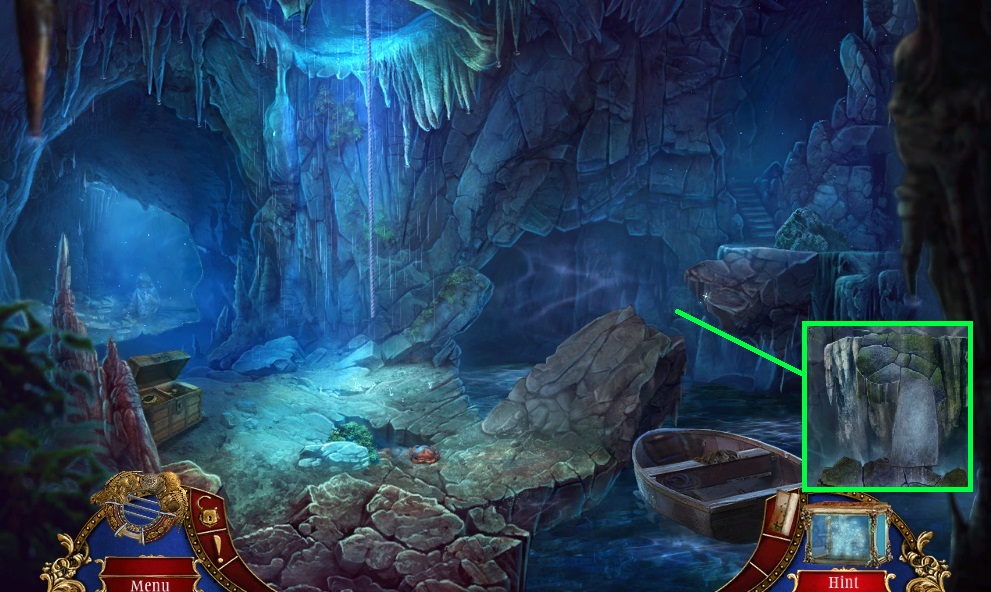
- Zoom into the broken bridge; place the stone tablet.
- Move to the Coast.
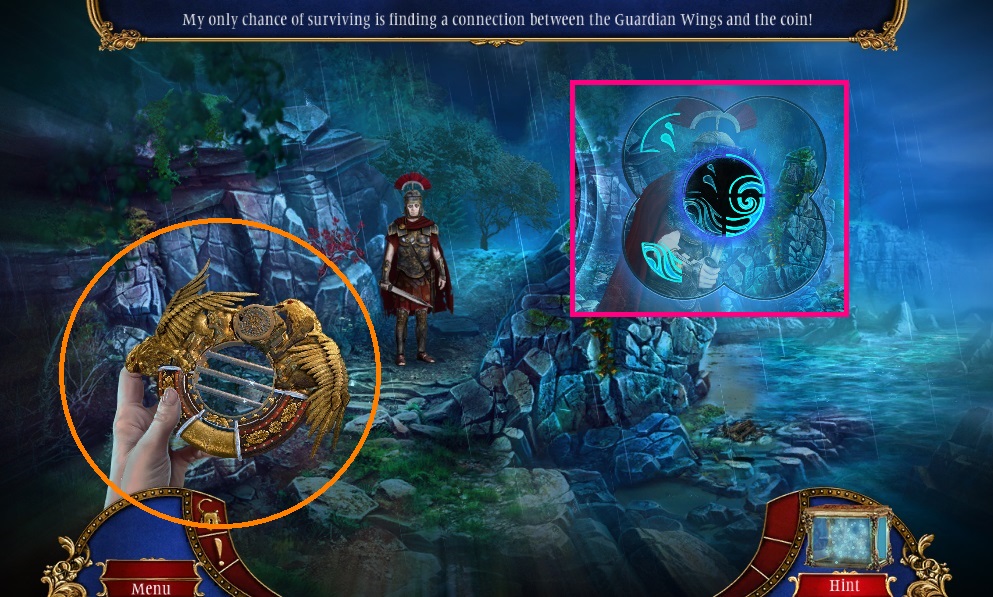
- Insert the coin into the artifact to trigger a mini game.
- Solve the game by arranging the pieces to complete the symbol.
- Move ahead to the Cliffside.
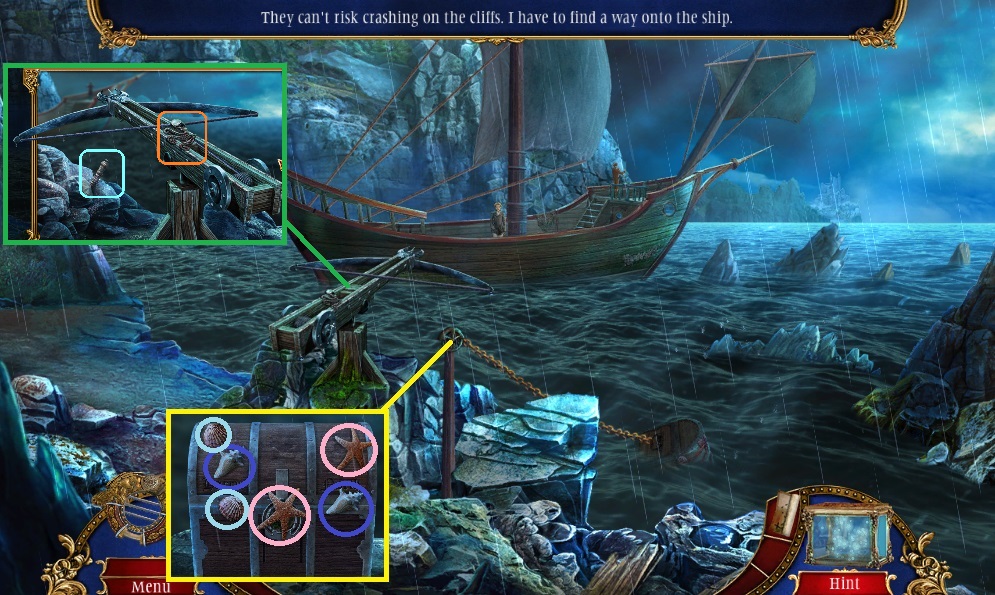
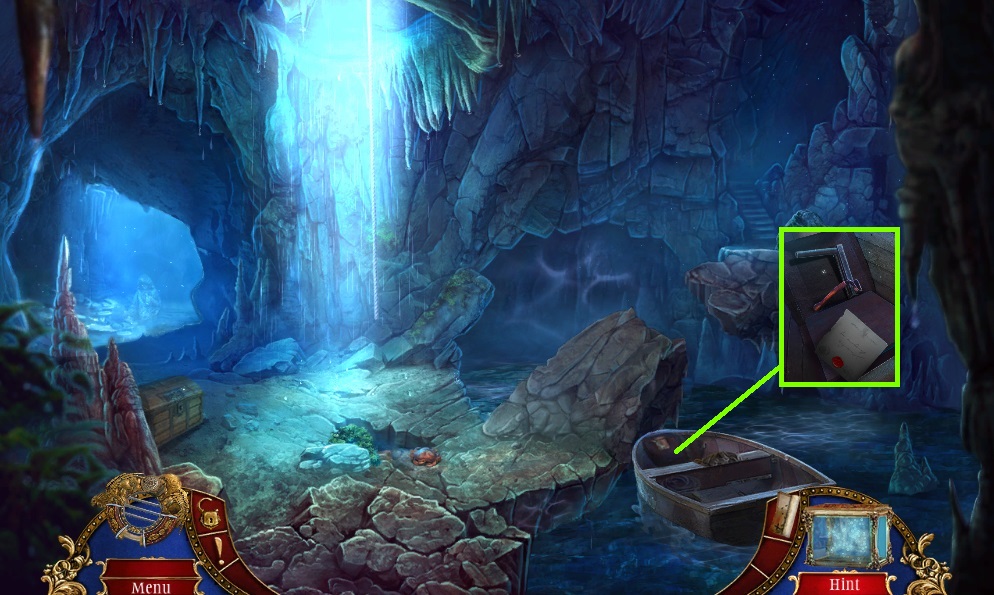
- Click the chain; click the items from the trunk to collect the feather trinket.
- Collect the octopus half & the lever; attach the crank onto the harpoon.
- Move down once.
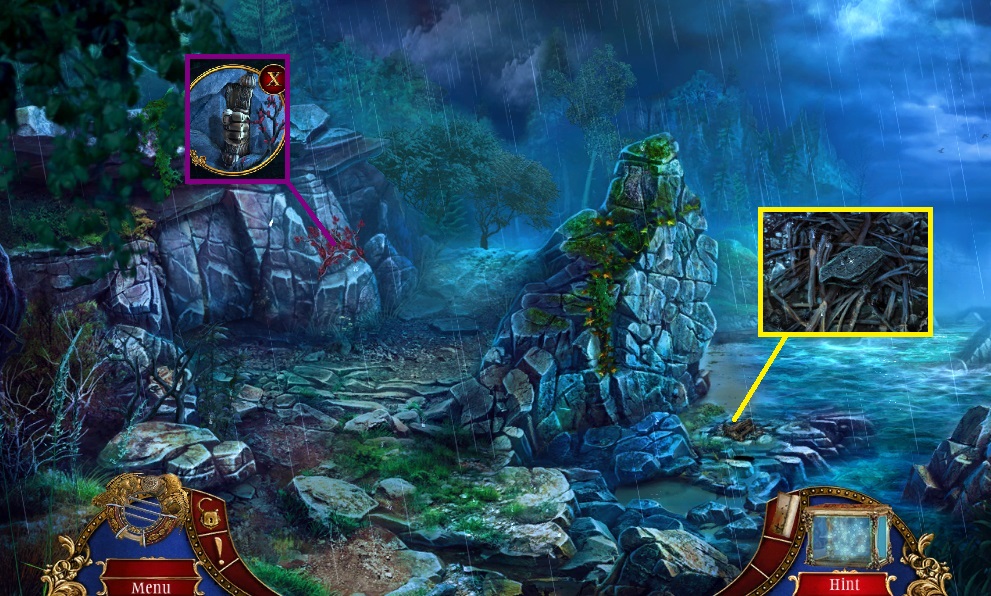
- Collect the charcoal.
- Click the brush; attach & click the lever.
- Move left.
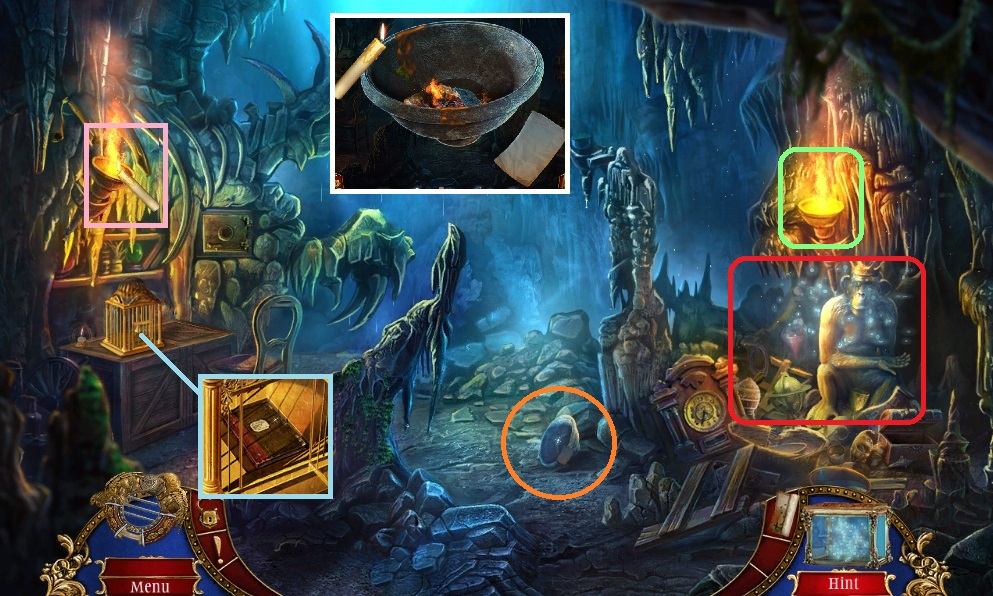
- Ignite the candle; use it to illuminate the room.
- Collect the torch stand.
- Insert the feather trinket; read the book & collect the medallion piece.
- Click the torch stand; place the resin, charcoal & use the candle to ignite it and collect the glue.
- Click the hidden objects area.
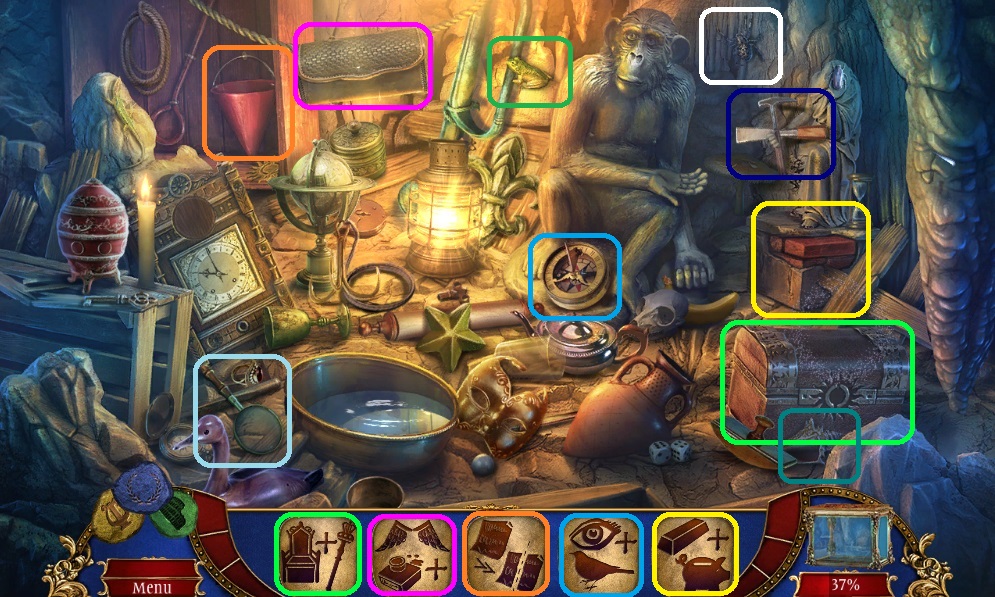
- Find the items.
- Collect the chisel & hammer.
- Move to the Coast.
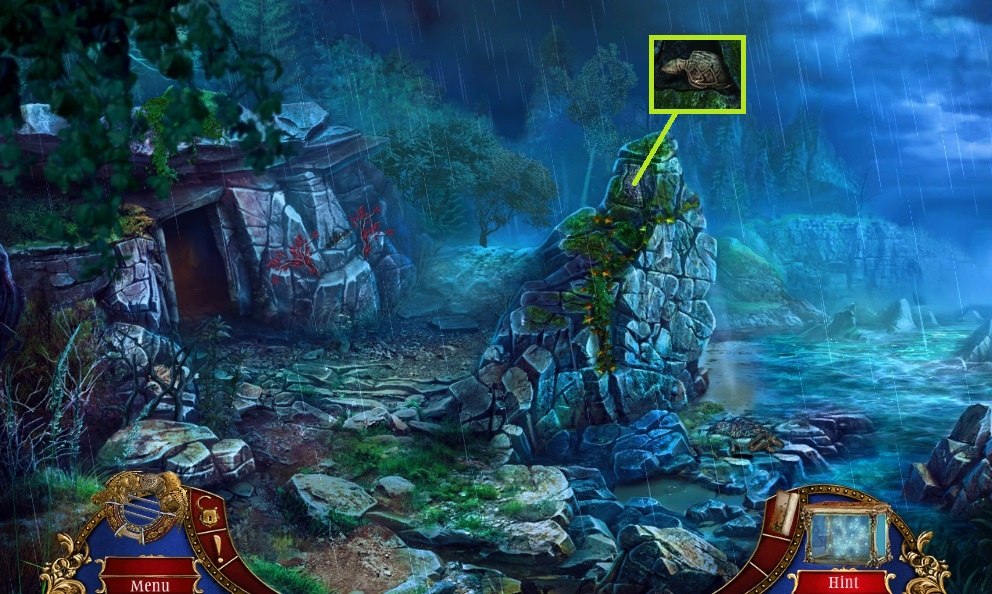
- Use the chisel & hammer; collect the bronze turtle.
- Move down once.
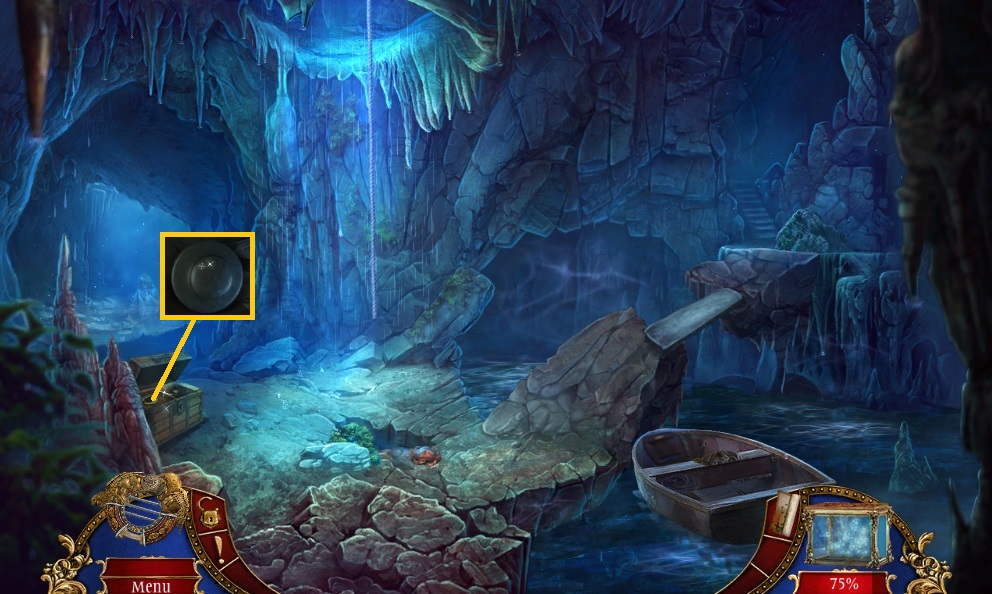
- Insert & click the bronze turtle; collect the safe wheel.
- Move to the Secret Study.
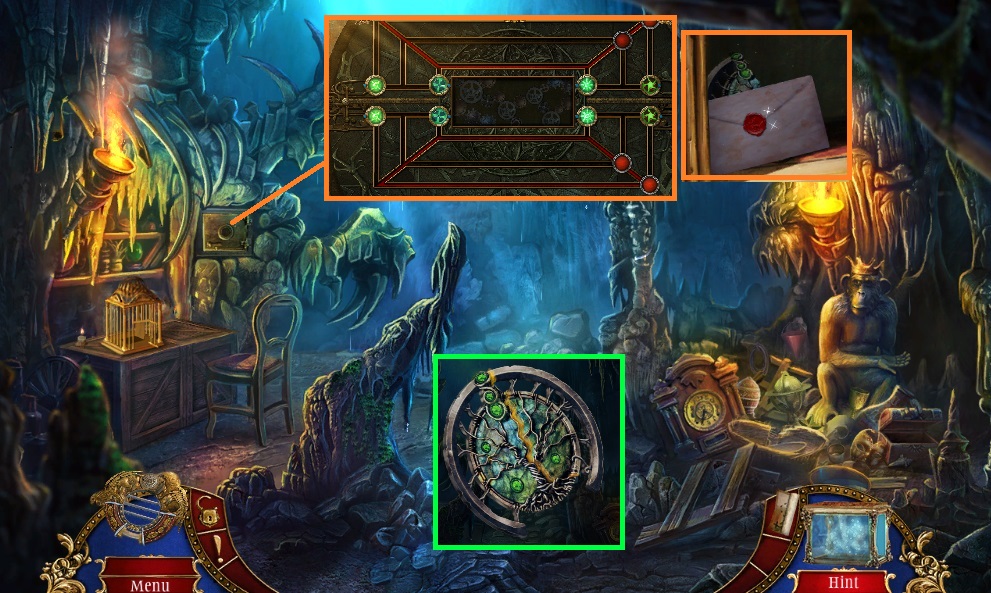
- Attach the safe wheel to trigger a mini game.
- Solve the game by aligning the gears correctly.
- Collect the letter & Roman coin & broken medallion.
- Insert the coin into the artifact.
- Use the glue to repair the medallion.
- Move to the Cliffside.
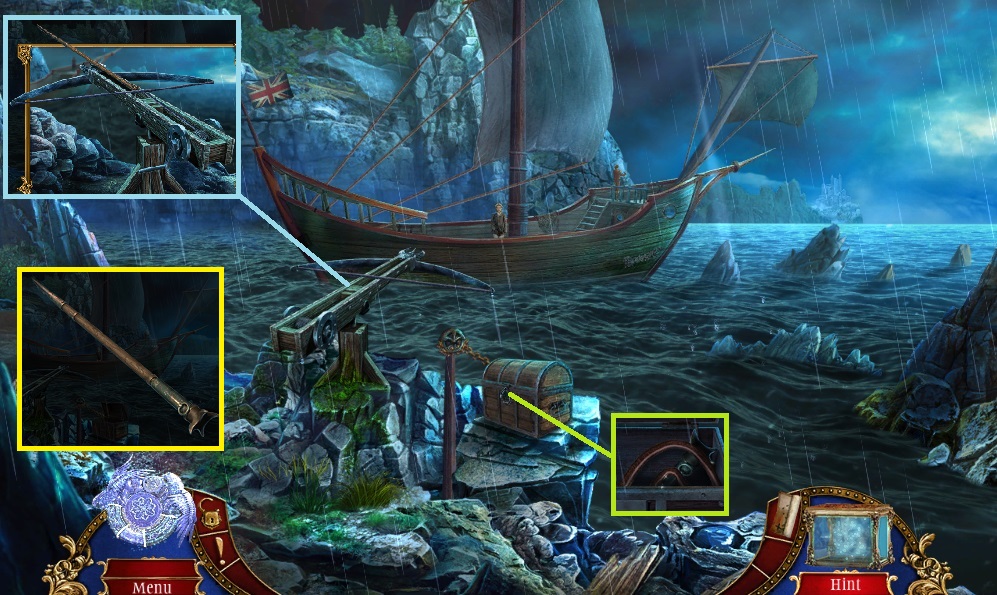
- Insert the medallion; collect the belt & harpoon bottom.
- Attach the harpoon bottom onto the harpoon and place it onto the harpoon gun.
- Click the crank 3x’s.
- Move to the Deck.
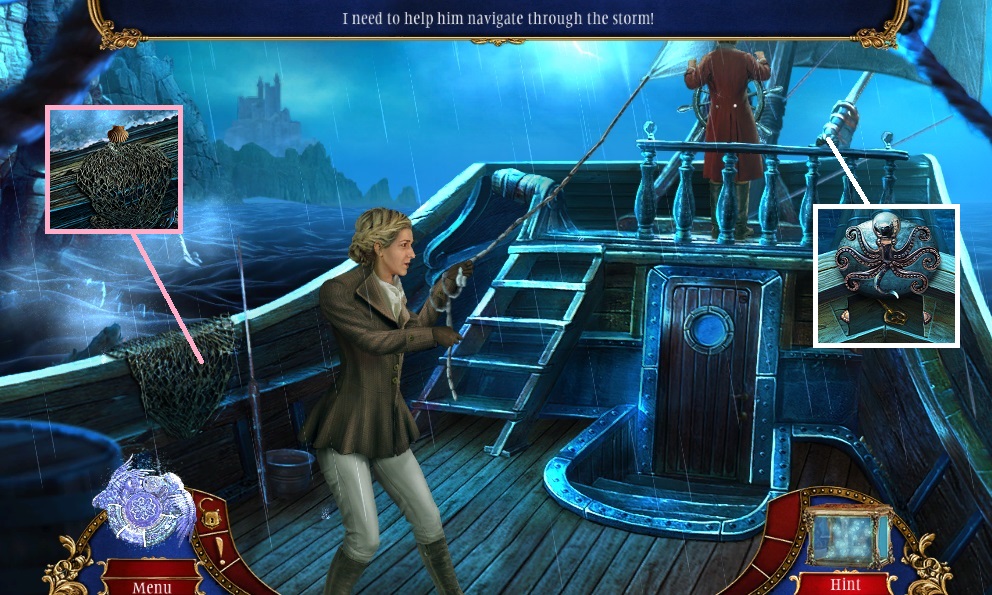
- Click the net and use the sharp shell to cut it; collect the octopus piece.
- Insert the octopus; collect the cabin key and insert it into the lock.
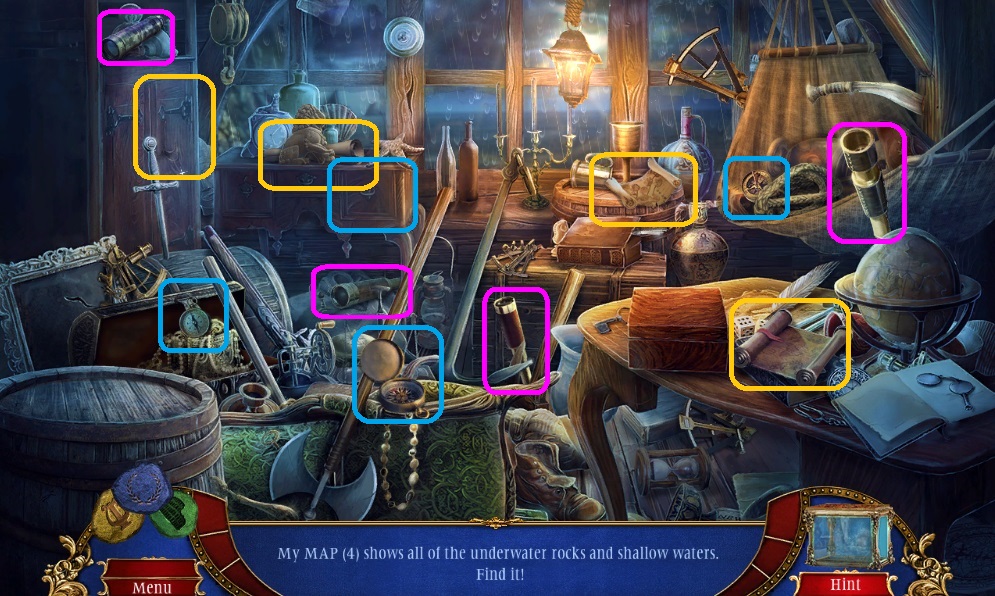
- Find the items.
- Collect the navigational instruments & give it to the Captain.
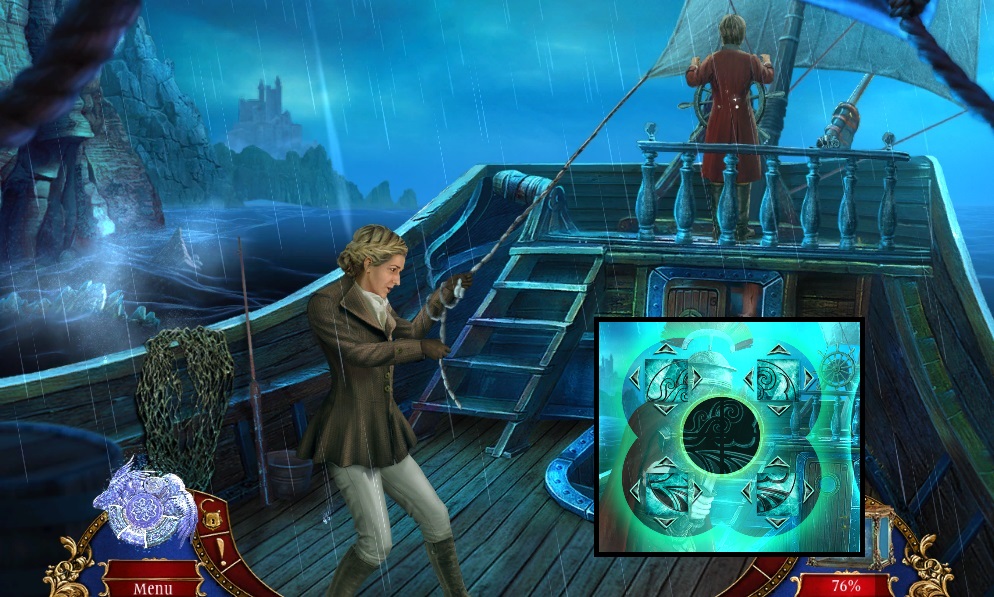
- A mini game will trigger; solve the game by re-creating the symbols.
General Tips & Information
Chapter 1 Escape
Chapter 2 Trapped
Chapter 3 The Mansion
Chapter 4 Cross the Bridge
Ask for help in the comments below!
Chapter 1 Escape
Chapter 2 Trapped
Chapter 3 The Mansion
Chapter 4 Cross the Bridge
Ask for help in the comments below!